Benjamin Day Consulting, Inc. --
http://www.benday.com
Team Foundation Server 2010 Beta 2 & Visual Studio Ultimate 2010 Installation
Guide
Table of Contents
Lab 01: Install Team Foundation Server 2010
This lab will walk you through the process of installing Team Foundation Server 2010 in a single-server configuration on Windows 2008.
Pre-requisite: Internet Information Server (IIS)
The first step is to configure the pre-requisites for Internet Information Server (IIS).
· Go to the Start menu and search for “Server Manager”
· Click on the icon to run Server Manager
You should now see the Server Manager application.
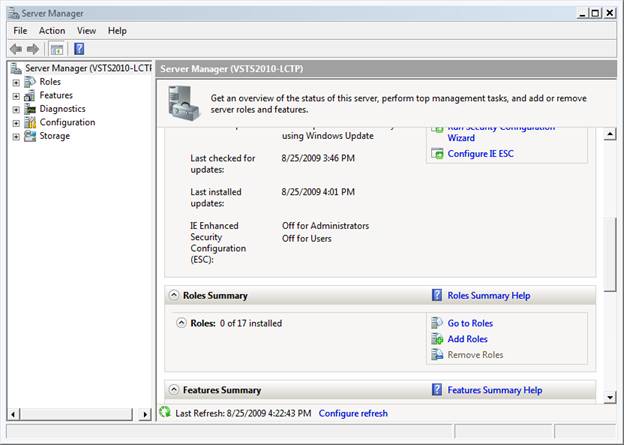
· In the right-side panel, locate the Roles Summary section
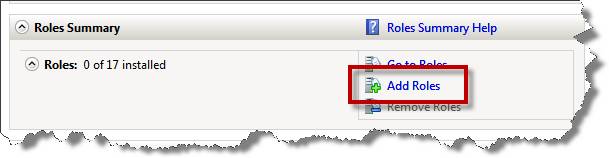
· Click the Add Roles button as highlighted above
You should now see the Add Roles Wizard window.

· Click Next
You should now see a list of roles.
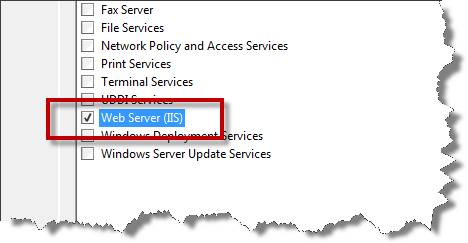
· Locate Web Server (IIS) and check the checkbox
· Click Next
You should now be on the Web Server (IIS) role description page.
· Click Next
You should now be on the Select Role Services page of the wizard. TFS requires that IIS has the HTTP Redirection, ASP.NET, Windows Authentication, and IIS 6 Management Compatibility role services installed.

· Under Application Development, locate ASP.NET and click on the box to select the role
Clicking on the ASP.NET role will pop up a new dialog asking if you’d like to Add role services required for ASP.NET.
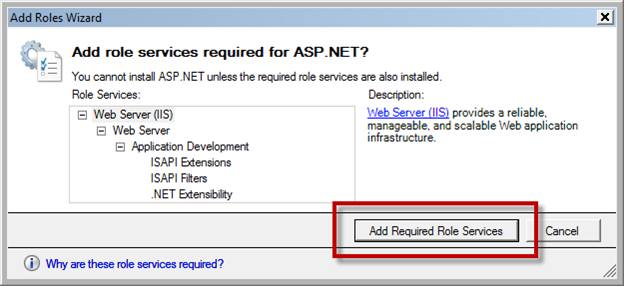
· Click Add Required Role Services to add the dependent services for the ASP.NET role
IIS also requires the HTTP Redirection role service.
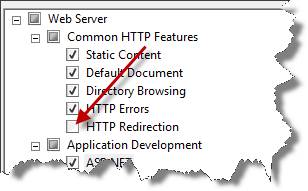
· Under Common HTTP Features, locate and select HTTP Redirection
Since TFS makes heavy use of Windows Authentication, the Windows Authentication role service is also required.
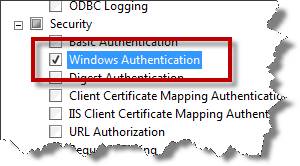
· Under Security, locate and select the Windows Authentication role service
The final required role service for IIS is IIS 6 Management Compatibility.
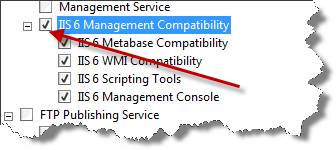
· Under Management Tools, locate and select the IIS 6 Management Compatibility node.
After you’ve selected IIS 6 Management Compatibility, all the child services should also be selected (checked). Verify that IIS 6 Metabase Compatibility, IIS6 WMI Compatibility, IIS 6 Scripting Tools, IIS 6 Management Console are all checked as shown above in the image.
· Click Next
After clicking next, you should now see the Confirm Installation Selections page of the wizard.
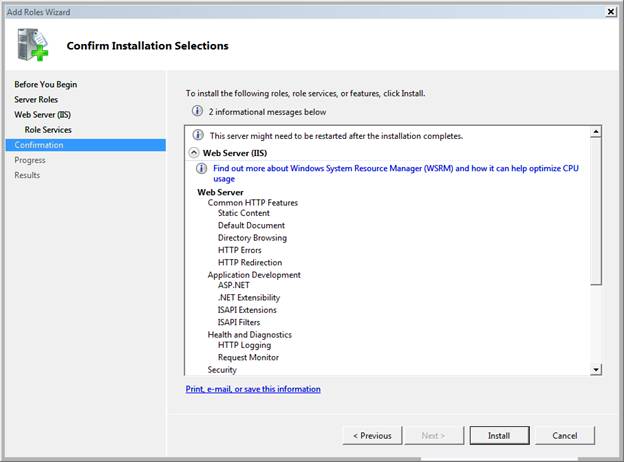
· Click Install to begin the installation
When the installation has finished, you should be on the Installation Results screen and you should see the Installation succeeded label as highlighted in the image below.

· Click Close
Pre-requisite: SQL Server 2008
TFS2010 supports only SQL Server 2008 Standard Edition or SQL Server 2008 Enterprise Edition. The following steps will walk you through installing SQL Server 2008 Enterprise Edition for use by Team Foundation Server. (The installation of SQL Server 2008 Standard is virtually – if not completely – identical.)
·
Insert your SQL Server 2008 installation DVD or
ISO image and run setup.exe as
prompted by the auto-run.
You may get a Microsoft SQL Server 2008 Setup dialog that prompts you to install some pre-requisites for SQL Server.
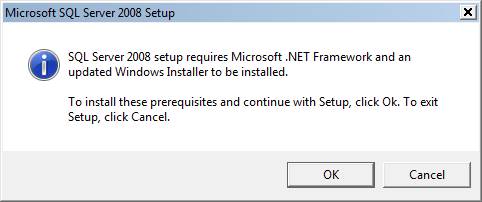
·
If prompted, click OK to install the pre-requisites
· If prompted to install any other pre-requisites, follow the on-screen directions and reboot as needed/prompted.
When the installer has loaded, you should see the SQL Server Installation Center dialog.
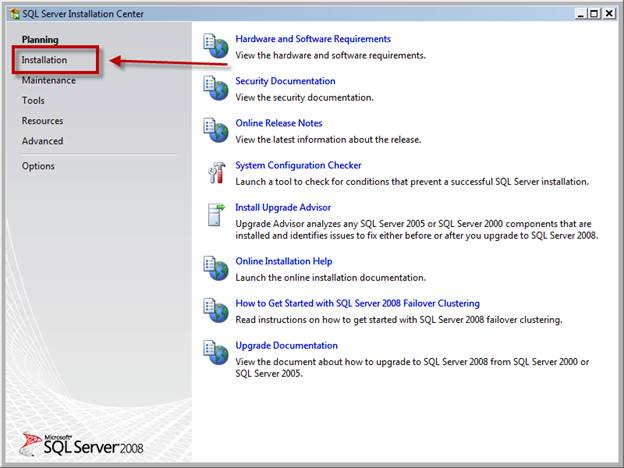
· Click the Installation link as shown above
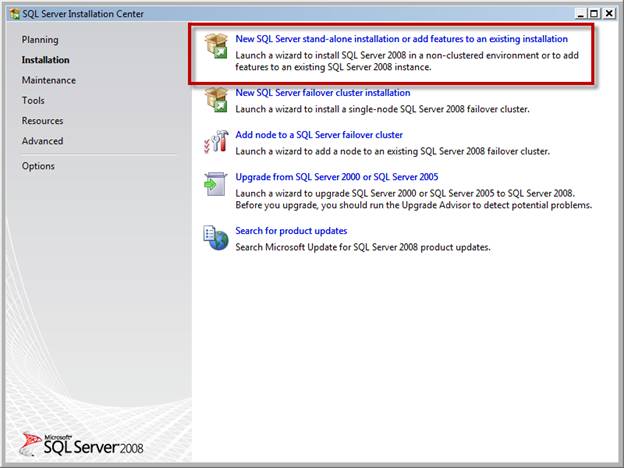
· Click New SQL Server stand-alone installation or add features to an existing installation
The installer will now do some checks to see if SQL Server 2008 can be successfully installed on your server.
When it has finished running the checks, you should see that the operation completed with no failed items.
· Click OK
You should be on the Product Key page.
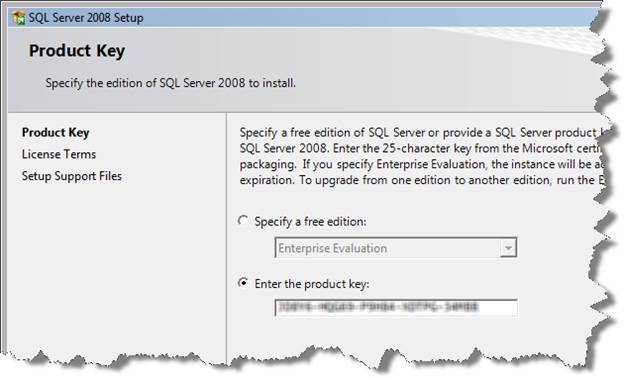
· Enter your product key
· Click Next
You should now be on the License Terms page.
· Check the I accept the license terms checkbox
· Click Next
After accepting the license terms, you should see the Setup Support Files page.
· Click Install
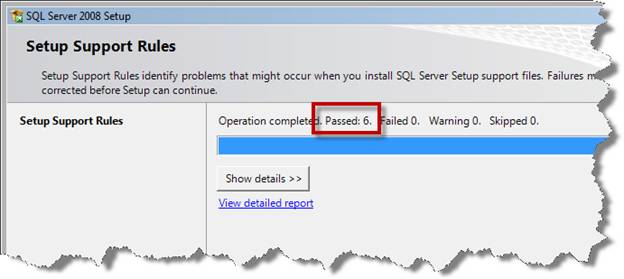
You should now see a new page called Setup Support Rules.
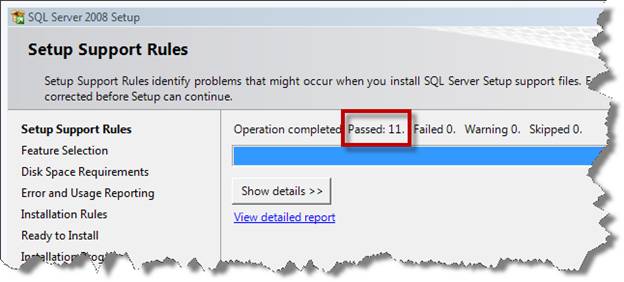
After this page runs, you should see that all the operations passed and no operations failed.
· Click Next
You should now be on the Feature Selection page. This is where we select the individual components of SQL Server that we want to install. TFS2010 needs the following features to be installed: Database Engine Services, Full Text Search, Reporting Services, and Analysis Services.
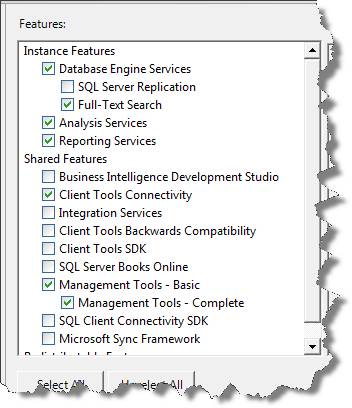
· Select Database Engine Services
· Select Full-Text Search
· Select Analysis Services
· Select Reporting Services
· Select Client Tools Connectivity
· Select Management Tools – Basic
· Select Management Tools – Complete
· Click Next
The next screen prompts us to configure the SQL Server Instance Configuration.
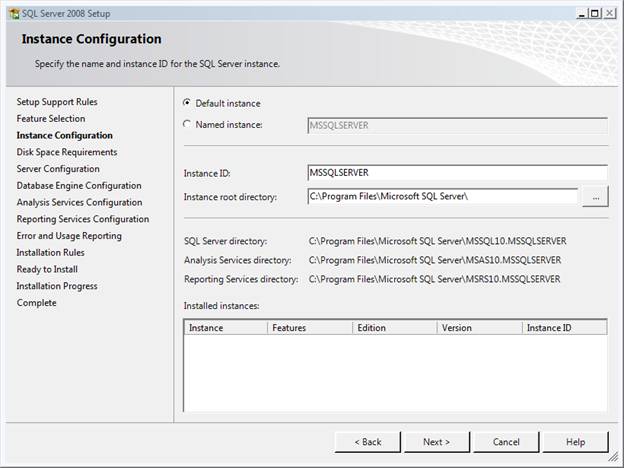
· Click Next
The next screen is the Disk Space Requirements screen.
· Click Next
The next page configures the service accounts for the various SQL Server services. We want all of them to run as NT AUTHORITY\NETWORK SERVICE.
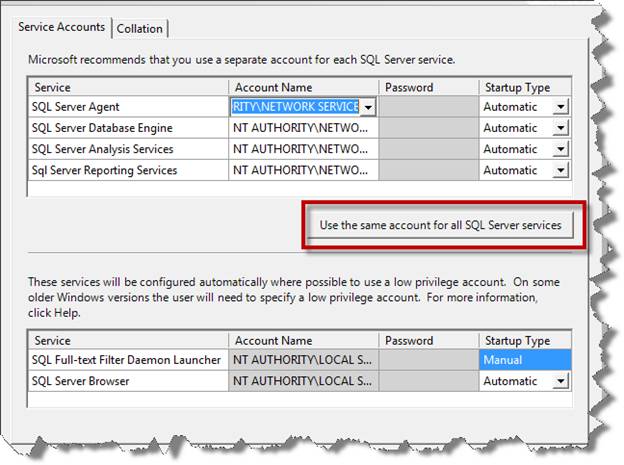
· Click Use the same account for all SQL Server services
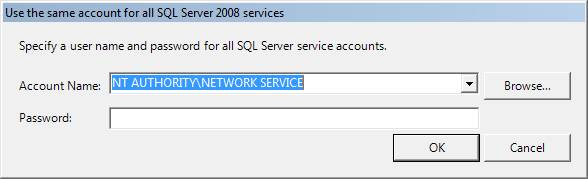
· From the Account Name drop down list, choose NT AUTHORITY\NETWORK SERVICE
· Click OK
After clicking OK, you should be back on the services page. We need to set all of the services except for SQL Full-text Filter Daemon Launcher to start automatically on startup.
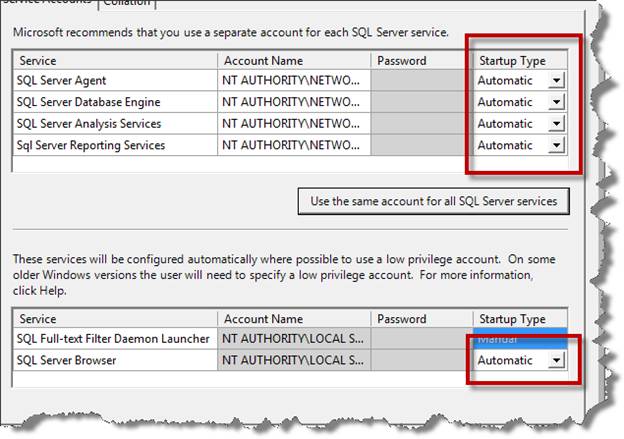
· Set Startup Type to Automatic for the following services:
o SQL Server Agent
o SQL Server Database Engine
o SQL Server Analysis Services
o Sql Server Reporting Services
o SQL Server Browser
· Click Next
On the Database Engine Configuration screen, you need to set up the basic permissions for the SQL Server administrators.
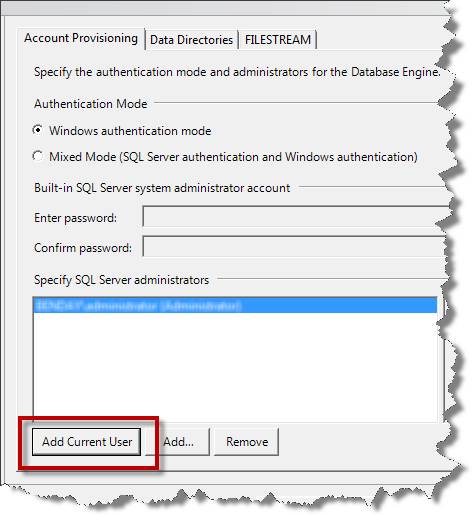
· Select Windows authentication mode
· Click Add Current User
The current user name should now appear in the list of SQL Server administrators.
· Click Next
You should now be on the Analysis Services Configuration page.
· Click Add Current User to add your user account to the Analysis Services administrators group
· Click Next
You should now be on the Reporting Services Configuration page of the wizard.
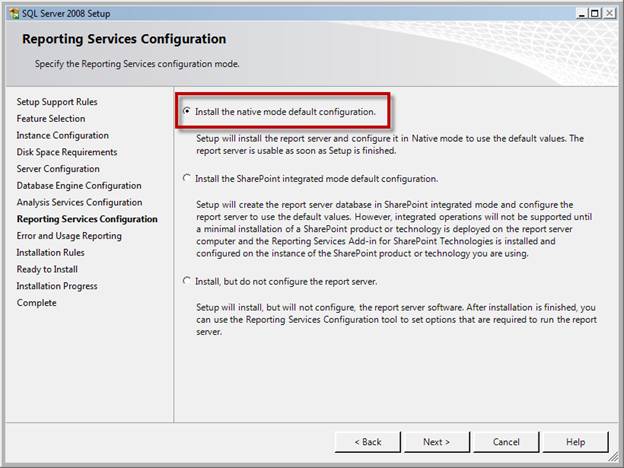
· Choose Install the native mode default configuration
· Click Next
On the Error and Usage Reporting page, you can optionally choose to send usage information to Microsoft.
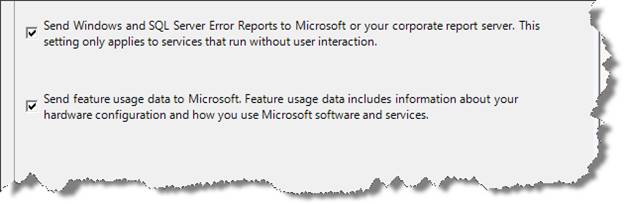
· Choose the values as you wish
· Click Next
You should now be on another Installation Rules page where the installer will perform another round of checks to see if your configuration options will be valid. You should see that all checks have passed and none have failed or created warnings.
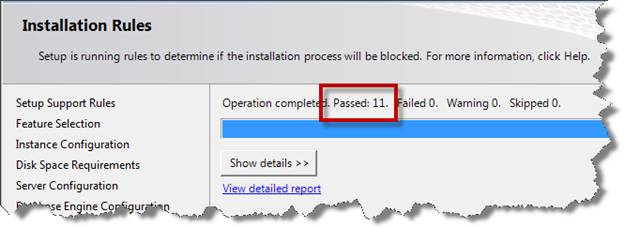
· Click Next
You should now be on a screen titled Ready to Install with a summary of your configuration options.
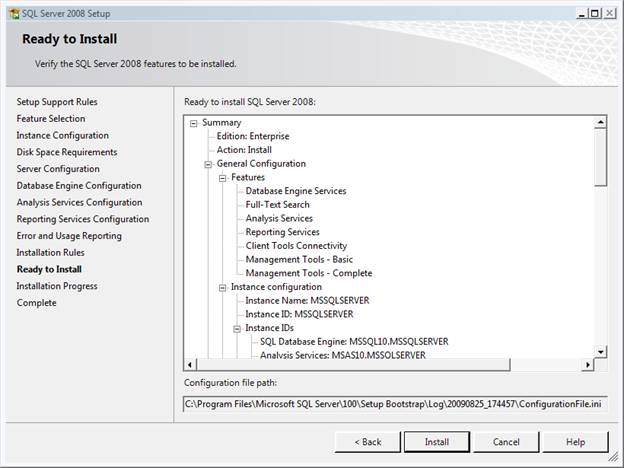
· Click Install to begin the installation
After running for a while, your installation should complete with all products installing successfully.
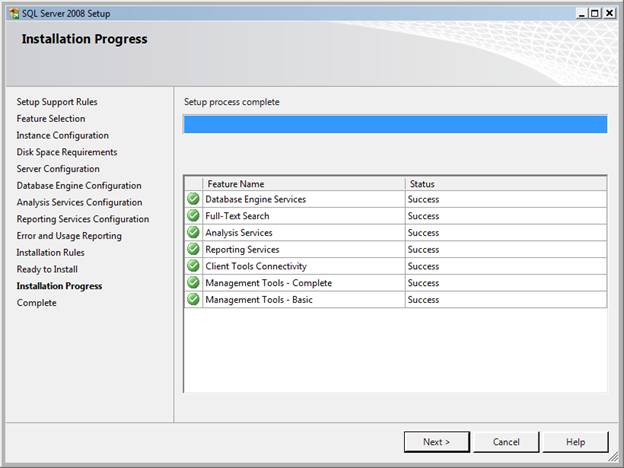
· Click Next
You should now be on the final page of the installer. If you’re curious, you can click on the link to view the installation log.
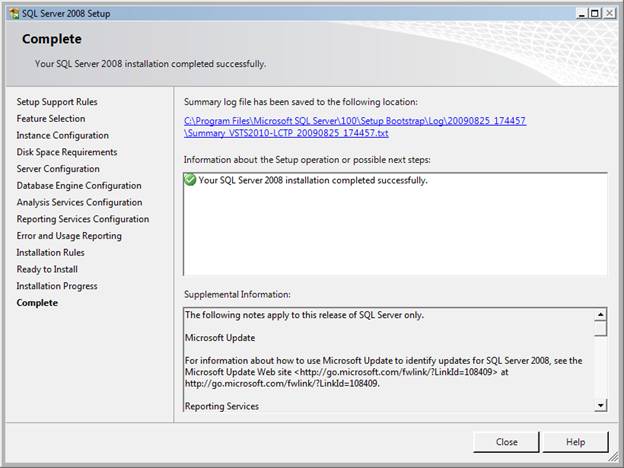
· Click Close to exit the installer
After exiting the installer menu, you should be at the SQL Server Installation Center main menu.

· Click the X button in the upper right to exit the installer
You’ve finished installing SQL Server.
· Reboot your server
Pre-requisite: Configure Permissions for Sharepoint Dashboard User
If you want to use the Sharepoint Team Foundation Server Dashboards feature, you need to give the Sharepoint service account user permissions to access the database. SharePoint will be installed as part of the TFS and, when we do the TFS installation, we’ll use the WSSSERVICE username.
To begin, you need to open SQL Server Management Studio.

· Click to the Start menu, type SQL Management Studio in the search box (see arrow above), click the SQL Server Management Studio icon in the results list (highlighted above) to start SQL Server Management Studio
When SQL Server Management Studio starts up, you’ll be prompted to log in to the server.
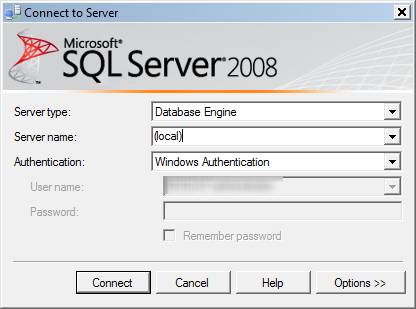
· Set the Server type value to Database Engine
· Set the Server name value to (local)
· Set the Authentication value to Windows Authentication
· Click Connect to connect to SQL Server
You should now be connected to SQL Server 2008 and your screen should look like the following image.
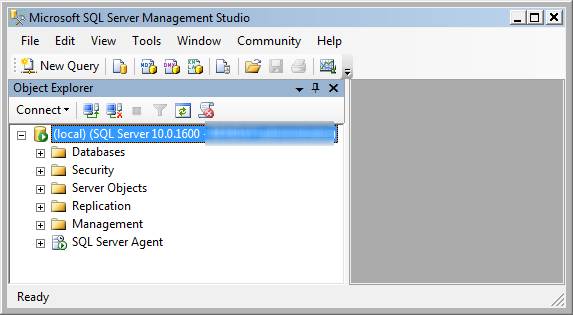
Now you’ll add the login for SharePoint to SQL Server’s security system.
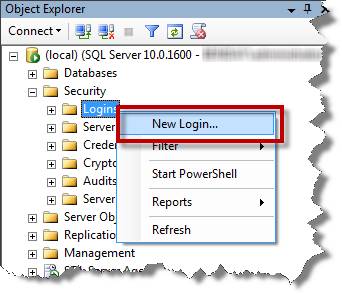
· Expand the Security folder
· Right-click the Logins folder and choose New Login…
You should now be on the Login – New dialog.
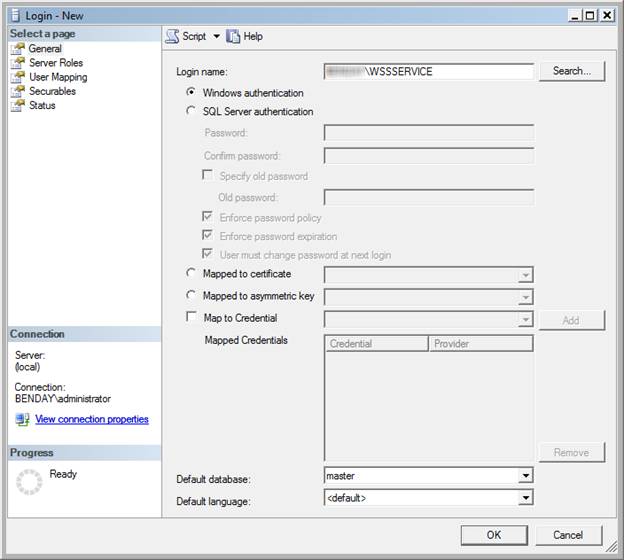
· Type the fully qualified name for your SharePoint service user in the Login name box. The format of the username is domain_name\username. So, if your domain is MyDomain and the user is WSSSERVICE, you’ll enter MyDomain\WSSSERVICE.
· Click OK
· Close SQL Server Management Studio
Install Team Foundation Server 2010
You’re now ready to actually install Team Foundation Server 2010.
· Insert your Team Foundation Server 2010 installation DVD into the drive or mount ISO image
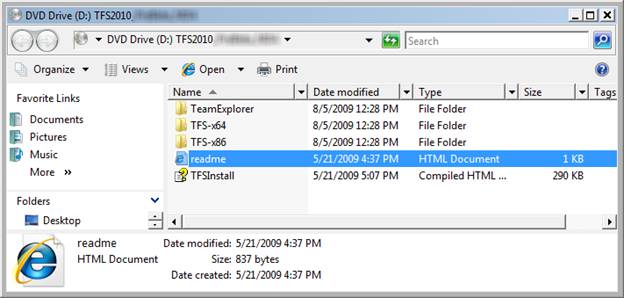
· Open the DVD using Windows Explorer
You should see the root of the DVD in Windows Explorer with folders for Team Explorer, the 64-bit version of TFS, and the 32-bit version of TFS.
· If you’re installing on a 64-bit operating system, open the TFS-x64 directory
· If you’re installing on a 32-bit operating system, open the TFS-x86 directory
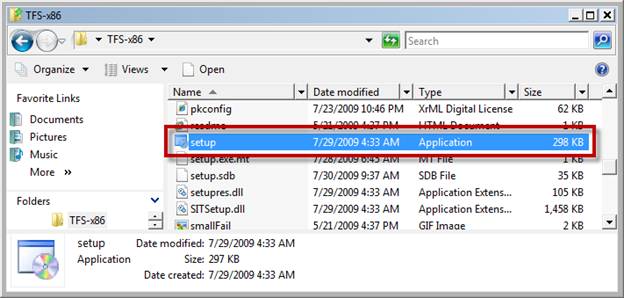
· Locate setup.exe in the installation directory
· Double-click setup.exe
You should now see the Microsoft Team Foundation Server 2010 installation welcome page.
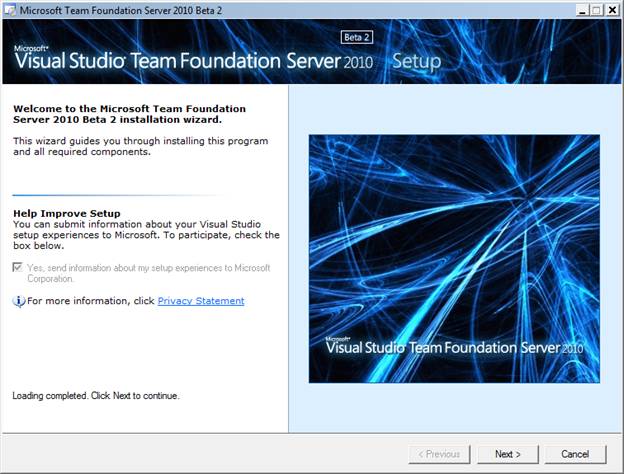
· Click Next
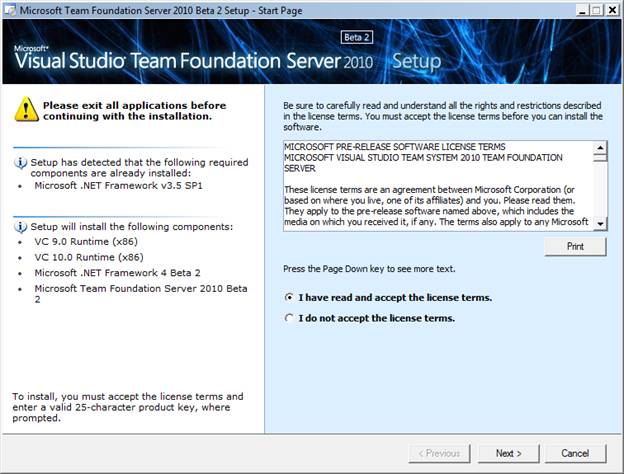
· Read the license terms
· Select I have read and accept the license terms
· Click Next
You should now be on the Options page.
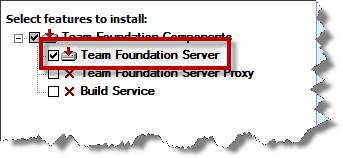
· Check Team Foundation Server
· Click Install
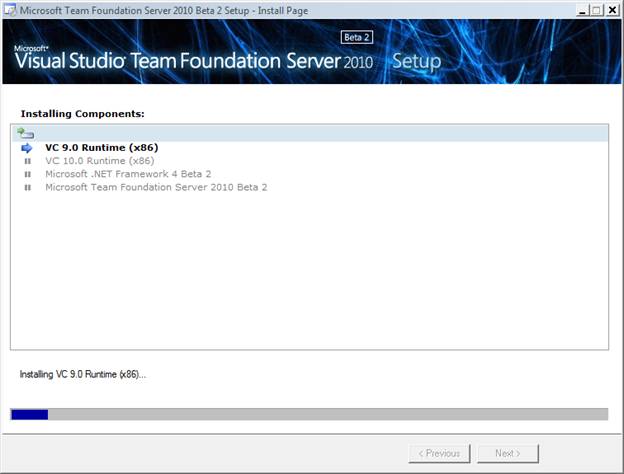
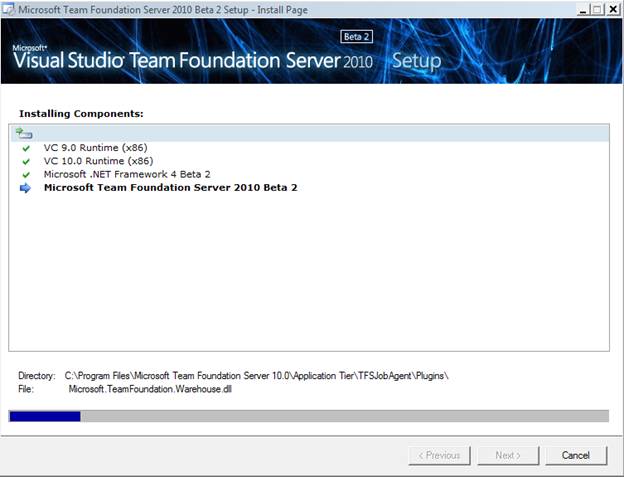
The installer should now be running.
At the end of the installation, you’ll be prompted to restart your server.
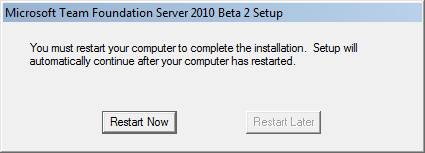
· Click Restart Now
When the server has finished rebooting, log in to resume the installation.
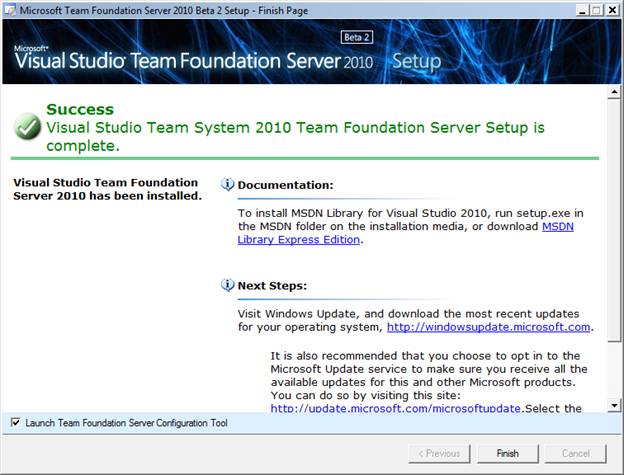
When the installation completes, you should see the screen below with a message saying it was installed successfully.
Configure Team Foundation Server
At this point, the TFS application bits are installed on the server. Now we need to run the configuration tool to make TFS run. At the bottom of the ‘installation completed’ screen, you’ll see a checkbox labeled Launch Team Foundation Server Configuration Tool.

· Verify that Launch Team Foundation Server Configuration Tool is checked
· Click Finish to start the Team Foundation Server Configuration tool
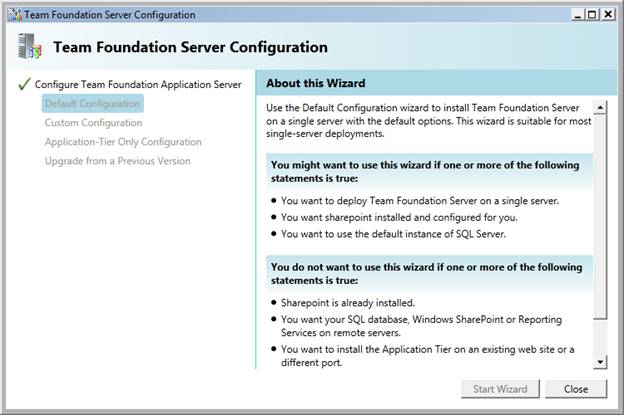
You should now see the Team Foundation Server Configuration tool window.
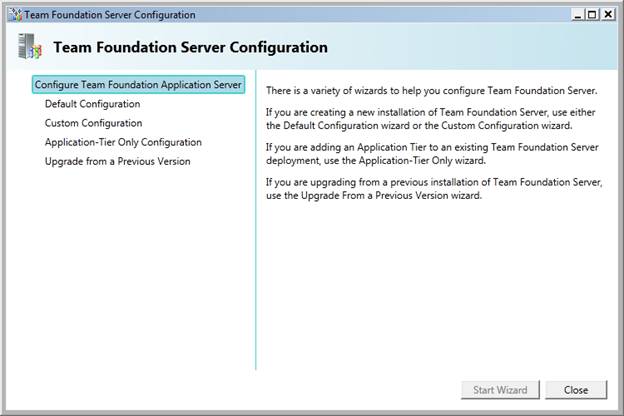
On the left side of the configuration tool window, you should see 4 different configuration options: Default Configuration, Custom Configuration, Application-Tier Only Configuration, and Upgrade from a Previous Version. We’re going to do a Default Configuration which means that everything runs on a single server.
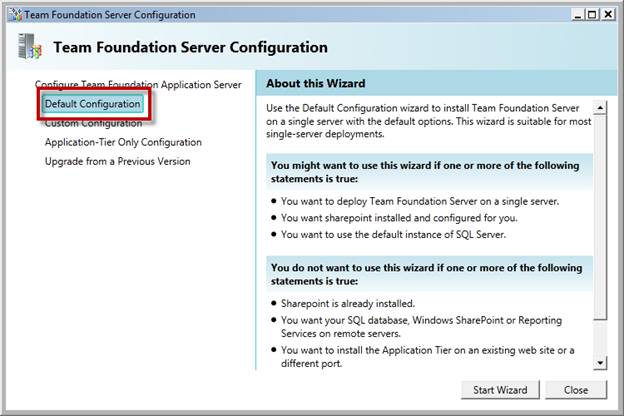
· Choose Default Configuration
· Click Start Wizard
You should now be on the Welcome to the Team Foundation Server Default Configuration Wizard.
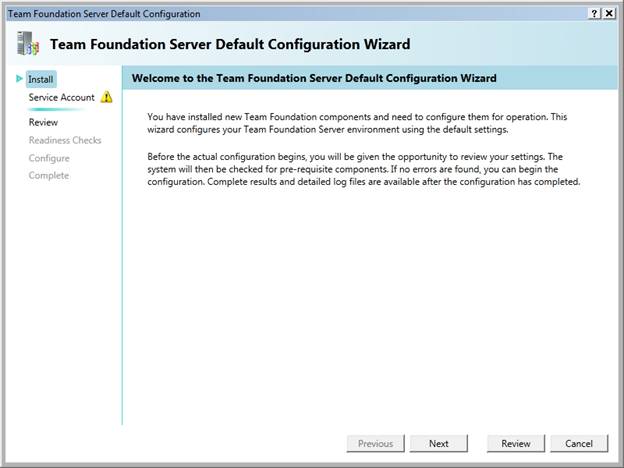
· Click Next
At this point, you should be on the screen that sets the service account information for SharePoint and Reporting services.

· Set the User Account value to the fully-qualified username for the TFSREPORTS account. The fully-qualified name is domain_name\TFSREPORTS
· Set the Password value to the password for the TFSREPORTS account
· Click the Test link to verify that the username and password combination that you have entered is valid
· Click Next
You should now be on the Confirm the Configuration Settings Before Proceeding screen.
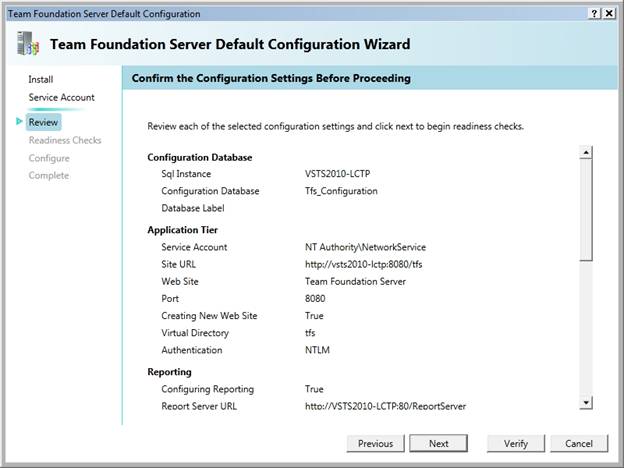
· Click Next to start the configuration validation process
The configuration process should now be running system checks to see if the configuration will succeed. At the end of the process, you should see that all six pieces of the check pass.
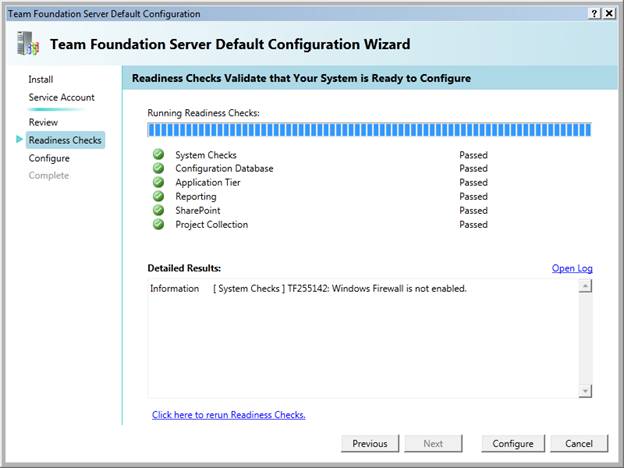
· Click Configure to start the configuration
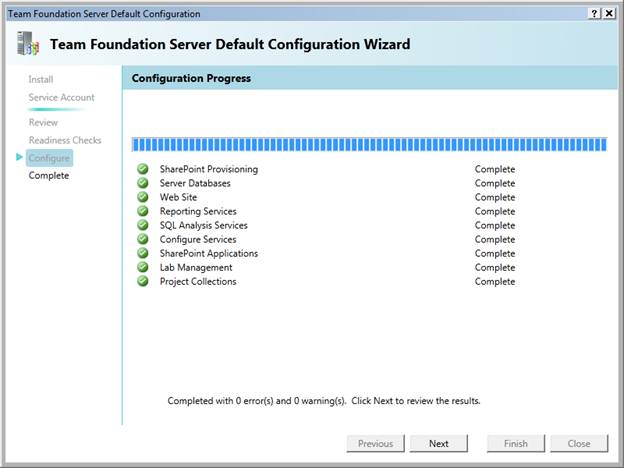
You should see the Configuration Progress dialog.

When the configuration process completes, you should see that all items have completed successfully.
· Click Next
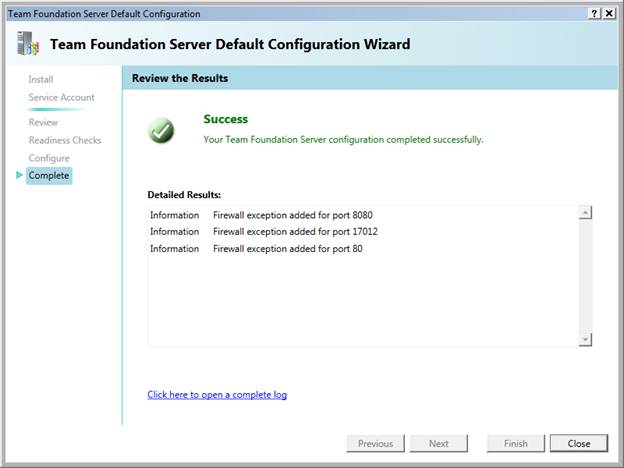
·
Click
Close
· Click Close
You should now be on the Team Foundation Server Administration Console.
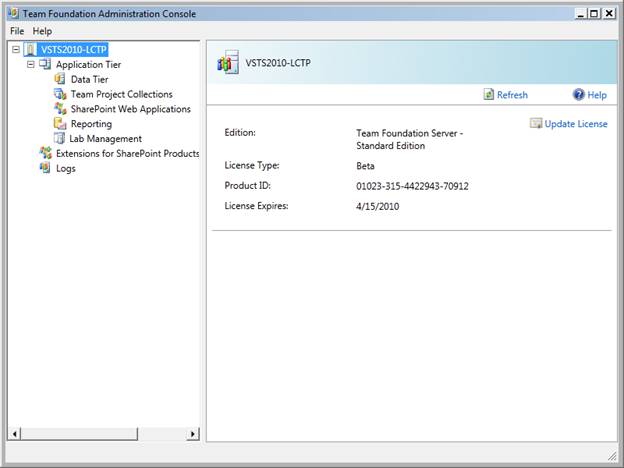
Team Foundation Server 2010 has been successfully installed.