I've been working doing a lot more with Azure Web Apps lately and found that there are some basic things that it's hard to find information on. So I decided to write some labs. This is the first one in a series.
The overall goal of these labs is to teach you how to create an application that runs inside of an Azure Web App. While this isn’t all that difficult, there are a fair number of steps. This first lab will walk you through the process of creating the web app resources in Azure using the Azure Portal.
Here's a link to the PDF version of this lab.
Here are the labs in this series: Lab 1, Lab 2, Lab 3, Lab 4, Lab 5
Terminology
The Portal uses a user interface concept that tends to expand horizontally towards the right. Every time that you choose something, rather than popping open a dialog box, it creates a new panel of in the user interface. These panels are called blades. I’ll be referring to UI blades through this lab.
Variables
A lot of the resources that you create in this lab are going to need unique names. When I say unique, I mean that they’re going to need to be unique for Azure and not just fun and creative. Since I can’t possibly know which values that you’re going to need to choose, I’m going to give you the list of these values now and let you choose them. I’ll refer to these as “variables” throughout the lab and when I refer to them, I’ll put them in squiggle brackets like this – {{Variable Name}}.
| Variable Name | Description | Your Value |
| {{App Name}} | This is the name of your application in Azure. This will eventually turn into the URL for your application. For example, if my App Name is ‘thingy123’ application URL that azure generates will be https://thingy123.azurewebsites.net. | |
| {{Resource Group}} | This is the name of the Azure resource group. | |
| {{App Service URL}} | This is the URL for your web app. This value is generated for you by Azure. | https://{{App Name}}.azurewebsites.net |
Create a New Resource
The first step is going to be to go to the Azure Portal (https://portal.azure.com). The Azure Portal is how you administer all your stuff in Azure.
- Open a browser and navigate to https://portal.azure.com
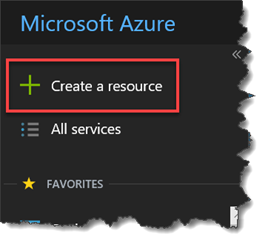
- Near the top left corner of the Microsoft Azure Portal, locate and click the Create a resource
- A new UI panel should be visible that has the title of New. Locate the box named Search the Marketplace.
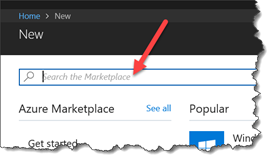
In the Search the Marketplace box, type Web App and press Enter
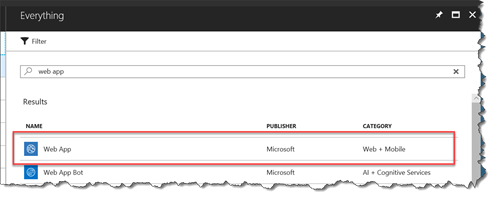
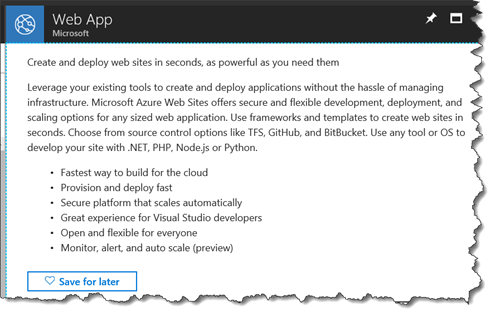
You should see a new UI blade with the result of the search. Locate the Web App from Microsoft in the result and click the Web App row.
- You should see a new blade with the title of Web App.
- At the bottom of the blade, click the Create
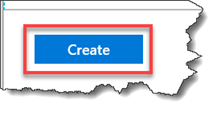
- You should now see a blade called Web App – Create.
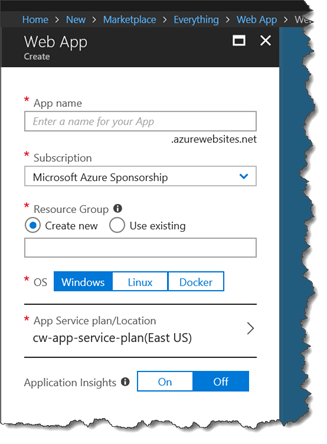
In the App name box, type your {{App Name}}
Choose your Azure Subscription from the Subscription box
Under the Resource Group label, select Create New
In the Resource Group box, enter your {{Resource Group}}
At the bottom of the blade, click the Create
After a few moments, you should see a message that says Deployment succeeded. NOTE: you may need to click the bell icon to see this message.
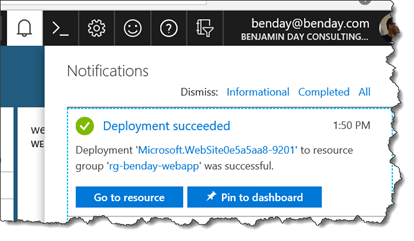
- On the Deployment succeeded notification, click the Go to resource
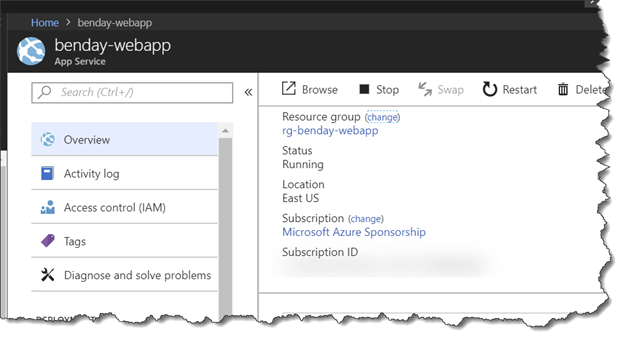
- You should now be on the App Service blade for your new web app looking at the Overview It should look similar to the image below but the values will be different.
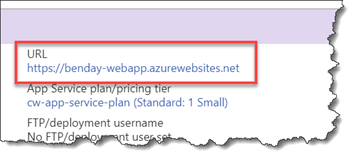
- Towards the right side of your blade, locate the URL This value should be the same as your {{App Service Url}}.
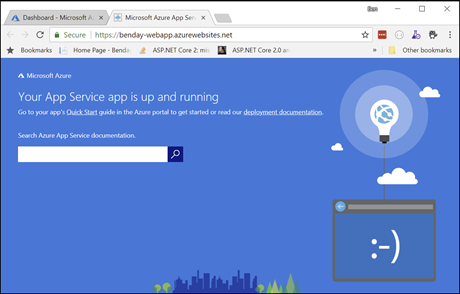
- Click the URL link to bring up your app in a browser. You should see a screen that says something like Your App Service app is up and running.
You’re done. You’ve created your Azure Web App.