I've been working doing a lot more with Azure Web Apps lately and found that there are some basic things that it's hard to find information on. So I decided to write some labs. This is the third post in a series.
The overall goal of these labs is to teach you how to create an application that runs inside of an Azure Web App. While this isn’t all that difficult, there are a fair number of steps. This third lab will show you how to publish a simple ASP.NET Core application to the Azure Web App that you created and configured in the previous labs.
Here's a link to the PDF version of this lab.
Here are the labs in this series: Lab 1, Lab 2, Lab 3, Lab 4, Lab 5
Terminology
The Portal uses a user interface concept that tends to expand horizontally towards the right. Every time that you choose something, rather than popping open a dialog box, it creates a new panel of in the user interface. These panels are called blades. I’ll be referring to UI blades through this lab.
Variables
A lot of the resources that you create in this lab are going to need unique names. When I say unique, I mean that they’re going to need to be unique for Azure and not just fun and creative. Since I can’t possibly know which values that you’re going to need to choose, I’m going to give you the list of these values now and let you choose them. I’ll refer to these as “variables” throughout the lab and when I refer to them, I’ll put them in squiggle brackets like this – {{Variable Name}}.
| Variable Name | Description | Your Value |
| {{App Name}} | This is the name of your application in Azure. This will eventually turn into the URL for your application. For example, if my App Name is ‘thingy123’ application URL that azure generates will be https://thingy123.azurewebsites.net. | |
| {{Resource Group}} | This is the name of the Azure resource group. | |
| {{App Service URL}} | This is the URL for your web app. This value is generated for you by Azure. | https://{{App Name}}.azurewebsites.net |
| {{Client Id}} | This is the MSA application Id that’s generated for you | |
| {{Client Secret}} | This is the MSA application secret that’s generated for you |
Source Code
You can download the source code for this lab from uploads/benday-azure-web-app-code-lab3.zip.
Open the Sample Solution & Run It Locally
For this lab, you’re going to use a simple ASP.NET MVC Core application that’s in the zip file for lab 3. This code is very simple. It’s not much more than what you’d get if you created a new solution and ASP.NET MVC Core project.
- Locate the zip file for this lab.
- Extract the zip to a folder on your local disk (for example, c:\temp\azure-labs)
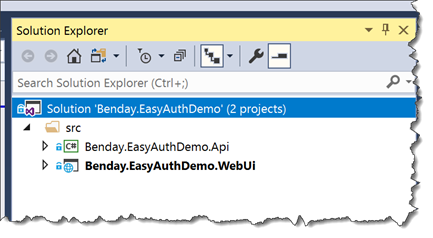
- In the before folder for this lab, open the EasyAuthDemo.sln solution using Visual Studio 2017. When it’s opened, you should see two projects in Solution Explorer.
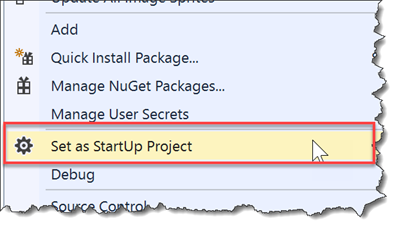
- Let’s make sure that the web project is marked as the start up project. In Solution Explorer, right-click on the EasyAuthDemo.WebUi project. From the context menu, choose Set as StartUp Project.
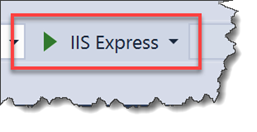
- Start the application locally by clicking on the IIS Express button in the main menu of Visual Studio.
- The application should start in a browser and should look something like the image below.
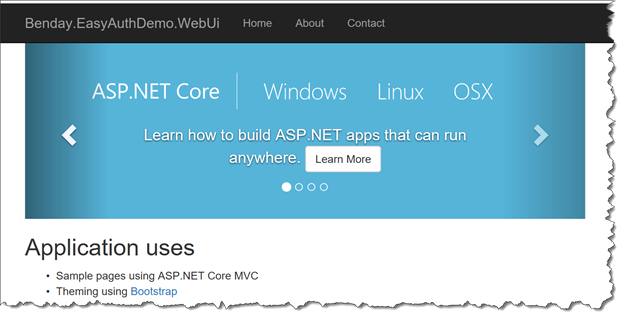
- Click around in the application a little bit just to familiarize yourself with it. There’s not a whole lot in this application. But definitely notice that you didn’t have to enter any username or password to run the application.
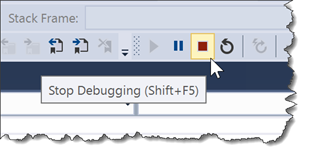
- Go back to the Visual Studio window. Click the Stop Debugging button in the toolbar menu.
Deploy Your Code to Azure
Now that you’ve played with the application a little bit locally, let’s publish the app up to your Azure Web App.
Before we do the deploy, I want to point out that, yes, I know the phrase “friends don’t let friends ‘right-click --> deploy’”. For production applications and for DevOps and happiness and everything that good in the world, you shouldn’t do a Right-Click --> Deploy from Visual Studio. This is just a demo app. In the real world, please don’t do this. Please deploy from an automated build and/or an automated release. If you want to learn more about that, check out my Pluralsight courses on VSTS and DevOps.
Ok. Now let’s do something that’s dirty and evil. Let’s do a Right-click --> Deploy from Visual Studio.
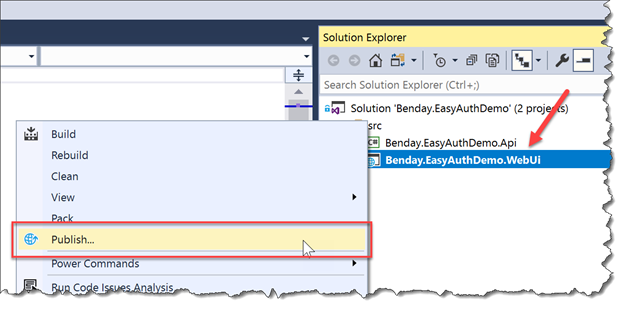
- In Solution Explorer, right-click on the EasyAuthDemo.WebUi project. From the context menu, choose Publish…
- You should now see a dialog that asks you to Pick a publish target. Ensure that App Service is selected. Under Azure App Service, choose Select Existing. Click the Publish button

If prompted, log in using the same credentials you use to access the Azure Portal.
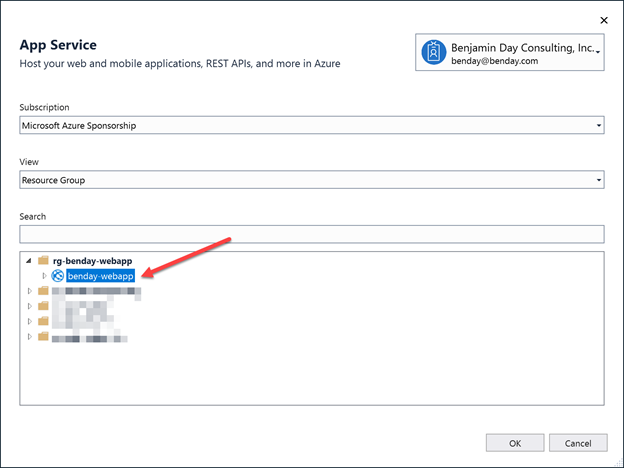
You should see a dialog named App Service that walks your through the process of choosing the Web App that you want to deploy to. Choose your Subscription. Set the View to Resource Group.You should see the list of resource groups in your subscription. Locate the Azure App Service Web App that you created before. (HINT: it should be called {{App Name}}).Select your web app and click the OK button
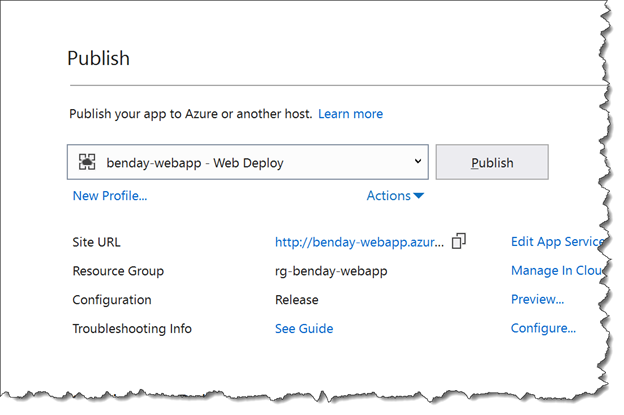
- You’ll see a dialog in Visual Studio that looks like the image below. Meanwhile, Visual Studio will be doing some thinking while it deploys your application to Azure.
- A browser window will open that will take you to your {{App Service URL}}.
- You’ll be prompted to log in using your Microsoft Account (MSA) credentials. Log in.
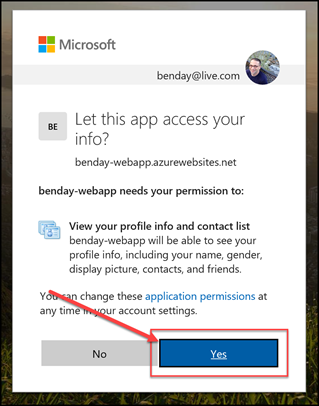
- You’ll be prompted with a permissions dialog. Click Yes.
- You should now see the sample app running in Azure at your {{App Service URL}}.
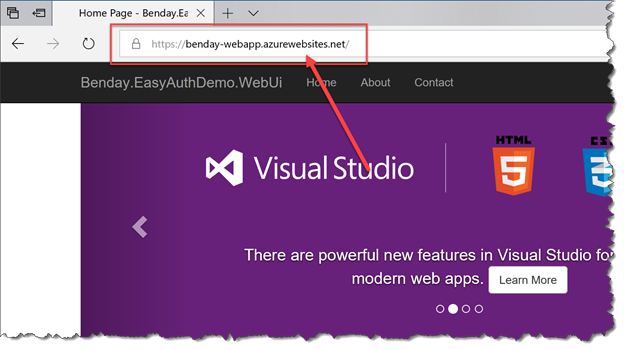
- Click around in the application. Enjoy.
You’ve deployed your application and it’s now secured. Before anyone accesses anything in your application, they need to be logged in. All that login logic is handled by your Azure Web App and by the Microsoft Account (MSA) security infrastructure.
Pretty cool, huh?
A little bit of configuration and you’re done. You’re using Azure “Easy Auth”.